After years in depressing budget hotels, I decided it was time to evaluate what I was looking for in my off hours between fishing sessions. I can’t begin to express how much I hate hotels. Having traveled for 20 years working, I have stayed in hotels all over the world and I can count the ones I have liked on one hand. And most of these were pretty nice places. But the feeling of being in a hotel just makes me uncomfortable because it is not home. Nothing feels right, not the bed, the pillows, the TV, the glare of those terrible bathroom lights, trying to figure out the shower controls, I could go on and on. But fishing hotels are typically a new low. Now there is something to be said in their favor, that is the strange throwback effect. Most of them are so old now that you get this idea you are staying at a place 30 years ago, but this wears off in about 3 stays and leaves you in what can only be described as budget motel hell.
I had to figure out an alternative. Here is what I wanted.
- My own bed.
- A predictable setup that was the same each time and made up of things that I handpicked due to their aesthetic and practical value.
- A place to reflect my desire to be in the outdoors, to be part of nature and ‘away from it all.’
- A place that would contribute to the mindset of fishing.
- Fire. I remember a quiet fire was very high on my list.
- To endure, be cold in winter, hot in summer, and occasionally just right. Instead of manufacturing an environment, I wanted to experience the environment and grow from it.
You see, the hotel room felt like I was making a deep sacrifice to fish and prevented what I have come to refer as the ‘wholistic fishing experience.’ At the same time, there was no way I wanted to rough it to the point where I was unhappy, or worse compromised my health. We are talking over a 100 days a year, so the experience needed to be wholistic, but at the same time a builder of health, mental and physical, not a detractor.
The answer from the outset was camping, but that only got me half way there. It took me a while to get to the real answer, glamping. And you know, it’s not as easy as you might think to get to this goal. It required a significant amount of planning, as well as some trial and error.
But a year later, lets go over where I am in the process, and where I hope to be going in the coming season.
The Setup
Glamping begins with the perfect tent. First and foremost, it needs to be huge. Space is essential in glamping because your tent needs to feel roomy. No one likes to be cramped, and you can’t create a home away from home when you feel like you are living out of a suitcase in a damp cave. I chose the Sibley 500 Pro from CanvasCamp.
The Sibley is a bell tent, made from 100 percent cotton and offers 210 square feet of space. Despite its tremendous size, this tent can be raised by a single individual in less than 15 minutes. Once up, it stands nearly 10 ft high and is 16 ft in diameter. This translates to the ability to fit a king size bed, dresser, 2 end tables, valet stand, and ample portable storage with room to spare.
For a mattress, I got a Kingsize Fox Airbed from Amazon.
I like the Fox for a lot of different reasons, most importantly, it’s comfortable. Additionally, it stores the pump internal to the mattress itself. Taken together, they are a unit. This saves me the hassle of having to pack and maintain a pump. While the airbed is fantastic, there is one thing you have to remember when using any airbed in cold weather. As the air in the tent cools at night, the air in the bed cools as well. This can create a scenario where you are lying on a very cold surface as you typically make it up with sheets and a duvet. Thus, I have taken to putting sheep skins on the bottom instead of sheets in cold weather in order to prevent freezing at night. I could shift to a sleeping bag, but I prefer having a regular made up bed so this is one thing I learned along the way.
I bought much of my furniture custom, the two things I was looking for was the ability to fold the furniture, and that it was made of wood that could stand up to both the relatively harsh environment and the moving back and forth between storage, the truck, and tent. I chose furniture from Byer of Maine.
Specifically, I got three Pangean camp chairs, a nomad table, 2 of the smaller folding tables, and a stool. For storage, I got two sets of folding shelves, and a number of folding storage cubes.
Flooring is key to creating a pleasant environment. I chose 2 full cow skins, 2 woven rugs, and 5 sheep skins which I purchased from Ikea. Arranging them takes as many forms as you can imagine. but I generally ring the bed with the sheep skins so when I wake up barefoot, the floor isn’t cold. Remember, its glamping not camping.
Next came the many accessories required to live comfortably. Besides tablets, chargers, lighting, etc, I made a specific list for cooking items which became a balance between having what I needed and not being laden down with so much gear that it made a mess, required too much cleaning, or was difficult to pack and unpack. The cooking list is as follows.
- An 8 qt cast iron dutch oven by Lodge cookware.
- A Cast iron sportsmans Grill by Lodge cookware.
- A 5″ cast iron skillet by Lodge cookware.
- A tripod for hanging the dutch oven over a fire.
- 3 place settings, dishes, silverware, etc.
- A Yeti Tundra 45 cooler.
- 4 Rambler 10 oz. tumblers by Yeti.
- Essential cooking utensils.
In my initial forays into glamping, I packed up all of these items, set them up at the campgrounds, and proceeded to camp. But it soon dawned on me that I was not glamping. I would ask myself, what exactly separates camping from glamping? The answer is pretty comical, but this is all I have for you.
Glamping essentially combines the concepts of Chinese Feng shui with the western concept of rugged outdoor living. It combines the ambiance of a fine restaurant with the camp stove. And finally, it suggests that the experience should be significant, and memorable. Its not about replicating the comforts of home outside, but there is no question that one should replicate them enough that the hardships of the environment will not disrupt the peace, or cause undue discomfort. Each experience should be balanced and well thought out.
To begin, the campsite should not be a random selection, but rather a deliberate choice. Remember that todays campgrounds are for the most part RV parking lots, optimized for how many vehicles they can fit over any kind of privacy, or beauty. State parks offer the best options in general, though there are many private campgrounds that are laid out quite nicely. Going forward, I will be providing detailed reports from the road.
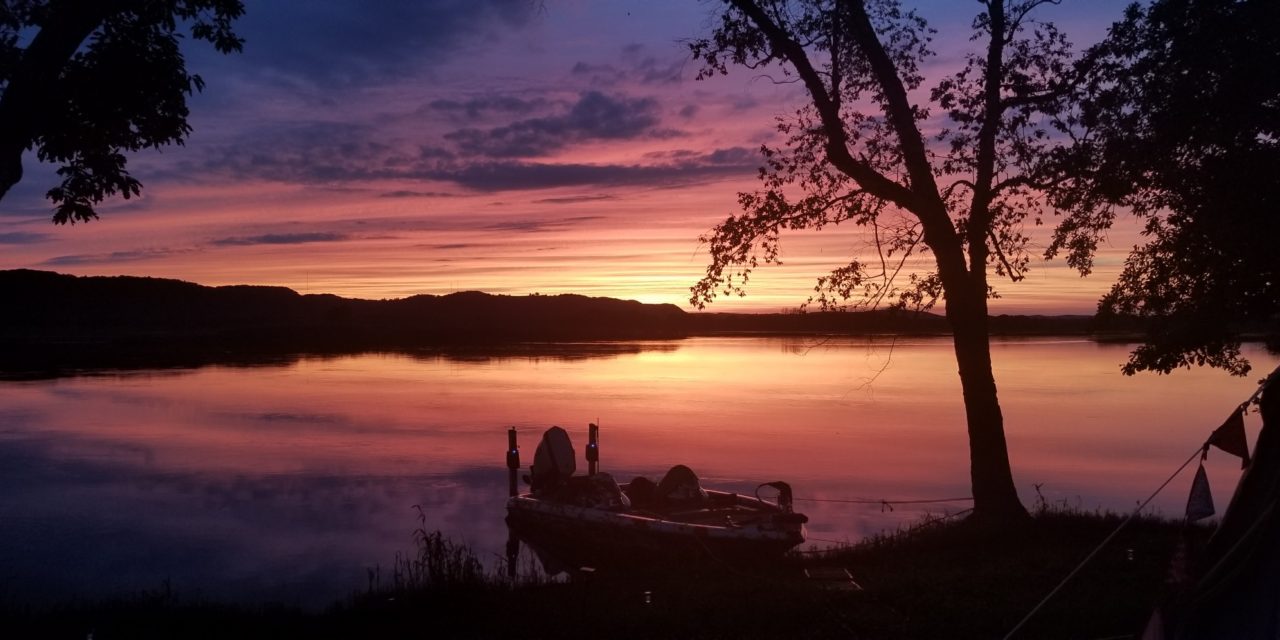
Once selected, the layout is essential. For me, I need enough room to fit my tent, an outside living space, fire and cooking areas, as well as my truck and boat. I begin by marking the perimeter of the campsite with solar powered lights, set to a soft blue color. This creates a calm atmosphere, gives me enough light to see, while at the same time does not ruin the experience of neighbors and the campground in general.
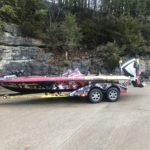
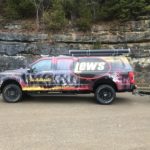
Around the truck and boat, I have 4 upward facing yellow solar lights that keep them plainly lit without a glare. This is important for security. Keeping the truck and boat, and their contents safe is essential and I have learned over the years that individuals who might desire to rob a fishing rig are reluctant to engage in theft when they are in plain sight. For particularly volatile situations, I also have a motion alarm that can be placed in the boat.
Next I place the entrance of the tent facing the fire pit and back about 10 feet. Between the tent and the fire pit, I put up an awning which covers the outside living area so I can relax outside even in the rain if necessary. One thing that is impressive about the Sibley offering is that it is incredibly waterproof. Last year in La Crosse WI, it rained for 5 straight days and not a single drop of water ended up in the tent. Quality matters in tent selection and Sibley is unreal.
Under the awning goes the Pangean chairs, table, stools, and end tables. Regarding the yeti cooler, I have tried 3 different locations. These are inside the tent, under the awning, and in the back of the truck. I prefer the back of the truck because it is easiest to refill with ice, and once filled the cooler is quite heavy so I don’t need to move it. Aside from that, believe it or not Yeti coolers are lifted quite often from campsites so having it in the truck allows me to lock it up when I am out fishing or in the tent.
The tent itself has two modes. This is cool weather and warm weather. Regardless of the season, I have a 100′ extension cord that goes from the site electrical post into the tent, and plugs into a 3 outlet GFCI splitter. From the splitter, a 50′ electrical cord connects to the boat for continuous charging. The second outlet is used for lighting, leaving a final outlet for various requirements. During summer, the primary is a blower. During winter, I usually connect a Dyson hairdryer for some quick heat when necessary. Sustained heat, however, requires a bit more.
The Orland Camp Stove is without a doubt, the best addition to a tent environment you can imagine. Aside from heating the tent, the ambient light is soothing and makes for enjoyable evenings out of the cold.
The key to glamping is to make your environment inviting and comfortable, to turn every activity into an experience. This is essentially a matter of planning, of equipment, and introspection.
For planning, I regularly ask myself, what would be the perfect book, the perfect music, the optimal dinner items, etc. The process of matching the floor coverings, to the duvet, to the furniture in order to make the aesthetics of the tent more inviting.
But above all, it is the frame of mind, the intentional effort to turn what would be a dreary evening in a run down hotel into the experience of a lifetime in an environment created according to my own personal tastes and appreciation. This is the essence of glamping. Give it a try, after all is said and done, it takes fishing to a whole new level.

